All posts tagged Cricut
I created this black bird covered branch in the Halloween Spirit but if the colors were changed it could be used any time of the year as a great decoration.
Directions to make this project:
1. Get a small tree branch from you neighborhood. Lay it out on top of newspaper.
2. Spray paint the entire thing, allowing for drying time in between coats. For this project I used a metallic flat black.
3. Once dry, place the base of the branch into a glass vase. Fill the vase with a weighted item of your choice. For my project I used yellow popcorn kernels.
4. Next, using your Cricut, black card stock and any of the Halloween cartridges cut out birds in all different sizes from 1 inch to 5 inches. The Halloween cartridges include: Happy Hauntings, October 31st and Pumpkin Carving.
5. Peel the birds off of the Cricut sticky mat, place them all over the branch and back them with standard scotch tape to hold them in place.
6. For a final touch and to add a little bling, paint a wing on using glitter.
Happy Halloween and Happy Crafting xoxo Lovely Lula
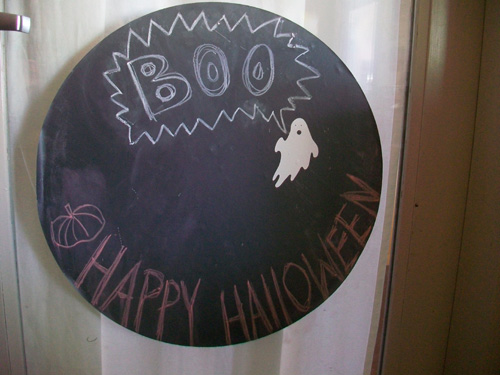
On my studio door I have a chalk board that my daughter draws on and I write notes on, sometimes. Most of the time it just sticks on the door empty of activity. So I figured since I am in the Halloween decorating mode, I would start to use it as a sign to celebrate.
Here is the story:
1. I started out with a round, vinyl, chalkboard sticker. It is stuck to my glass studio door.
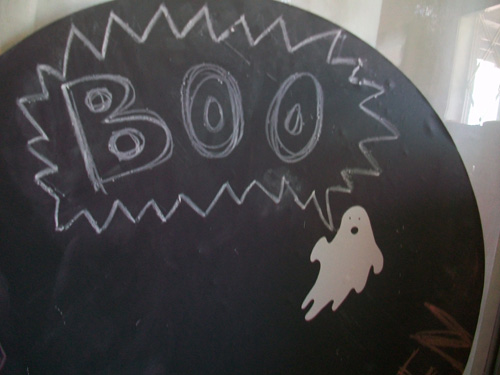
2. Using my Cricut and the October 31st Cartridge I cut a ghost out of white sticker vinyl and attached it on top of the chalkboard shape.
3. Using different color chalks I wrote “Boo” and “Happy Halloween”
I will be using this for every holiday to come.
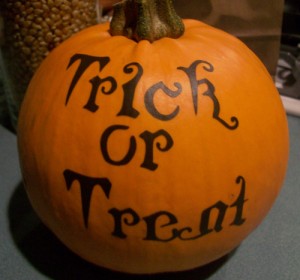
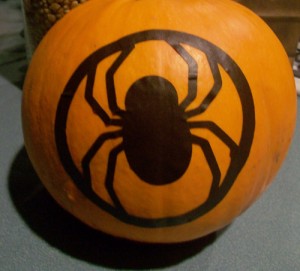
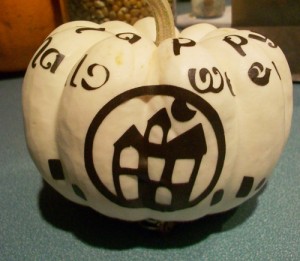
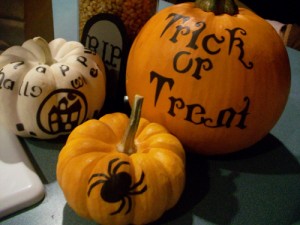
So far I haven’t gotten around to carving a pumpkin but I wanted them around so I opted to decorate my little pumpkins for now.
These are all made from cut sticker vinyl using the Cricut and the Pumpkin Carving Cartridge.
For Halloween this year I thought I would declare my love for the Cricut Cake! I had to think of a costume that I can wear easily while toting two youngsters around and still do all things I need to do. So I knew it had to be something cute but practical. To make one yourself read on.
Steps:
1. I used my Cricut Cake baker’s hat from CHA January 2010 as a starting point.
2. I cut utensils, cupcakes and cake slices out of Bazzill Basics card stock on my Cricut. I used the Sweet Treats Cartridge and the From My Kitchen Cartridge to cut the shapes.
3. I added Glimmer Mist to the utensils to give them a pink shine. I also, added some sharpie marker to the front cake to make it stand out.
4. Next, I glued the pieces together with a tacky glue and then hot glued them to the baker’s hat.
5. I finished off the costume my adding the Cricut Cake Apron.
Special Note: Thanks Sarah for modeling in the costume with the Cricut Cake machine.
Also Blogged at Mixology Crafts where I am a contributing blogger.
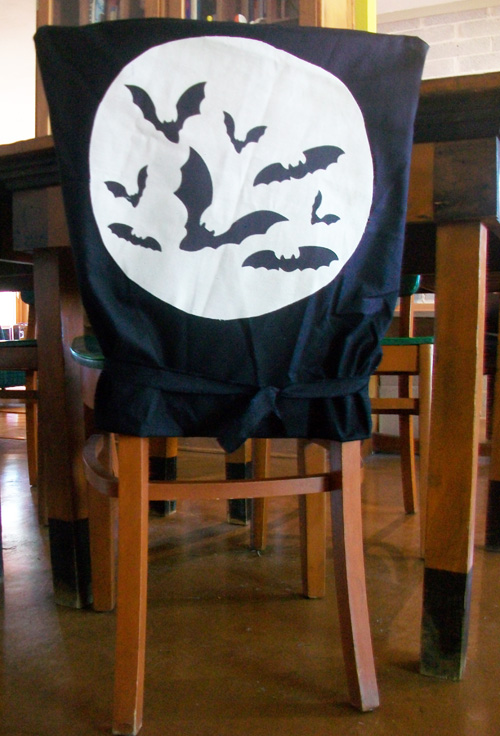
I covered my dining room chairs for Halloween. This project requires a sewing machine and a YUDU screen printer. I created the bats by cutting them out using my Cricut and Happy Hauntings Cartridge. Then I created them in YUDU screens and printed them with black ink onto white canvas. I then cut the canvas into a circular moon shape. For the black cover I used black broad cloth and fit it to loosely cover the chairs and then sewed them up on three sides. I then sewed the printed moon onto the black cover. I finished it off by tying a long strip of black broad cloth around the bottom of the black covering. I made four of these in a day – go for it, you can too!


