All posts tagged Cricut
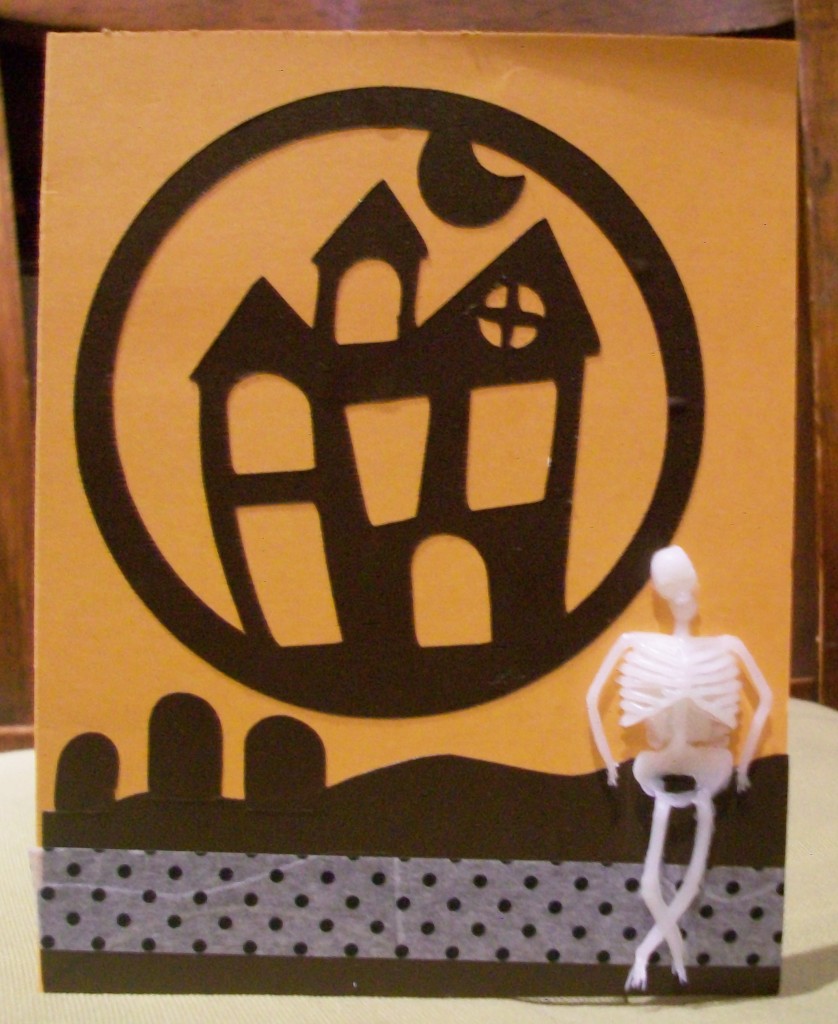
For this Halloween card I used a pumpkin orange card stock for the main card. I cut the hunted house using the Cricut and the Pumpkin Carving cartridge out of black vinyl. I hand cut the grave yard below out of the same black vinyl. The poke-a-dot stripe at the bottom is Japanese Washi Tape. Finally, I attached a plastic skeleton, with glue, that I picked up at a party supply store. Happy Halloween!
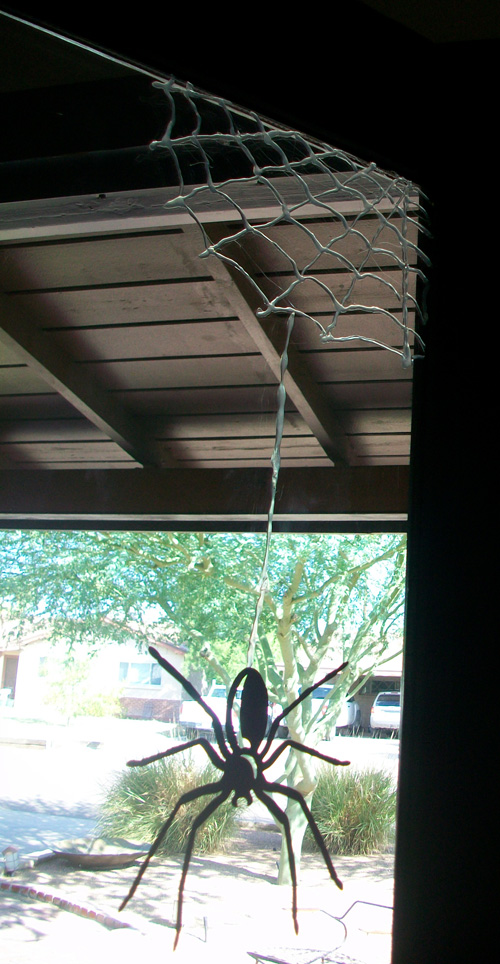
This spider is hanging out on the glass of my front door. To make her I used my Cricut and the October 31st cartridge and cut her out of black card stock. To create the web I drew a drawing of a web on a piece of paper and then I cover the piece of paper with a transparent teflon sheet. I used the drawing underneath as my guide and “traced” over top of it with hot glue. I allowed the glue to dry completely on the teflon. Once dry I peeled it off and stuck it to the glass on the window. The sticky plastic quality of the hot glue attaches perfectly to glass and pulls of when you are ready to take it down.
I kind of want these in every window in my house but I think the tall one in the house might have a different idea.
It’s October and that means Halloween fun! To get ready for this, my favorite season, I made a decorative basket to fill with candy for the upcoming trick-or-treaters. While I await their arrival I will decorate my home with this fun Halloween home decor project. To make this you’ll want to first pick up a plastic bucket or basket at your local craft store. Next, using your Cricut and your Gypsy create a Halloween design of your choice from any of the many Halloween Cartridges such as Mini Monsters, Happy Hauntings or October 31st Seasonal. Cut your design out using purple, orange, green and black vinyl. Tack down to your bucket and rub with a bone folder to stick it in place. For a finish look wrap the handle with a gross-grain ribbon. Happy Halloween Crafting xoxo Lovely Lula
Gift sets are fun to make for your gal pals. This project is a paper box and paper roller skates cut from Bazzil Basics Paper on the Cricut and embossed on the Cuttlebug. Craft foam was added to the roller skates for the wheels. The nail polish and lip gloss have vinyl on them cut from the Cricut and then drawn on with a Wite-out marker. As an added bonus there is a Shrinky Dink charm cut on the Cricut and drawn on with Sharpie makers. For the complete tutorial click here: Paper Gift Box Set Happy Crafting – xoxo Lovely Lula
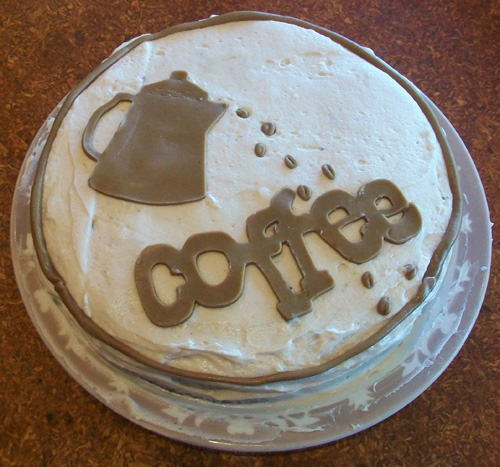
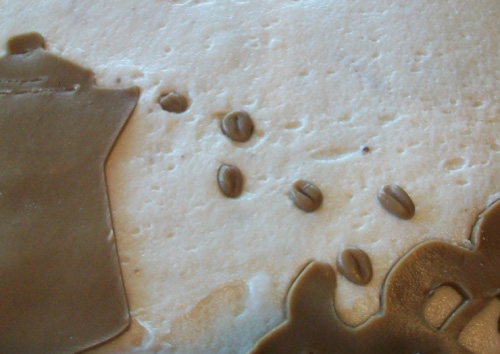
This is a chocolate espresso cake that I made for the Tall Ones Birthday. It also had espresso flavored frosting and I colored the fondant coffee tan. I cut the fondant shapes on my Cricut Cake using the From My Kitchen cartridge. I also rolled small balls from the fondant and then smashed them down in the center with a tooth-pick to make little fake coffee beans.
Click Here for the Chocolate Espresso Cake Recipe


