All posts tagged Felt
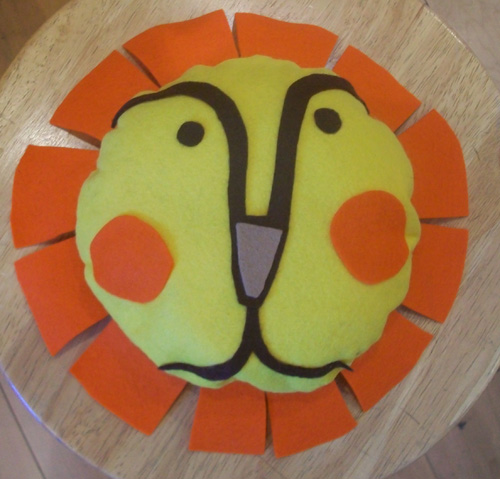
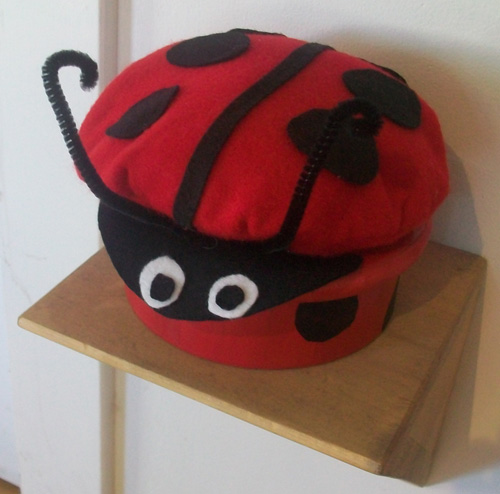
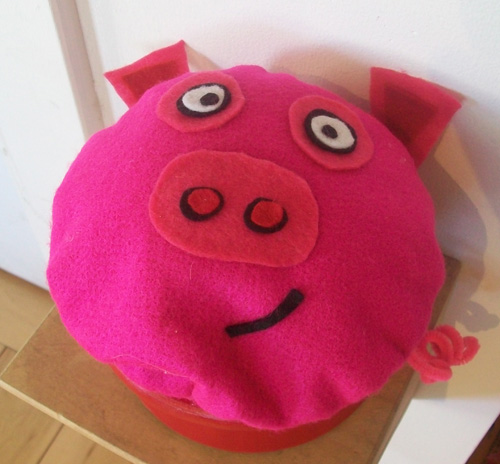
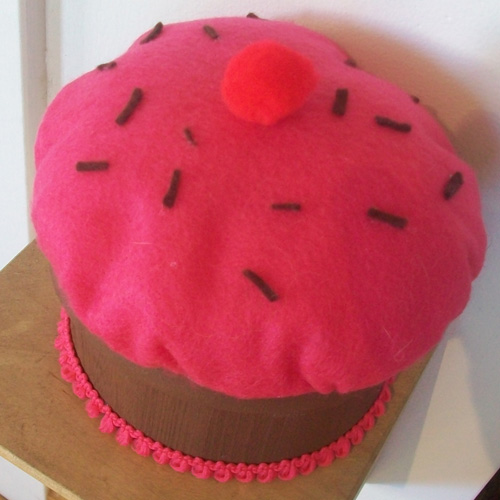
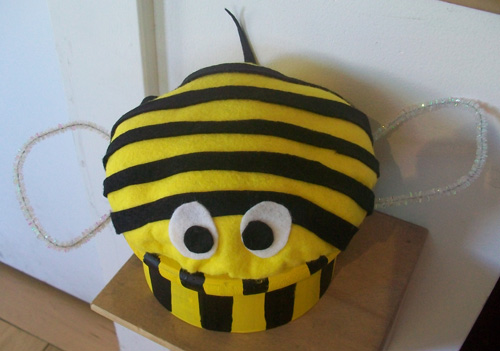
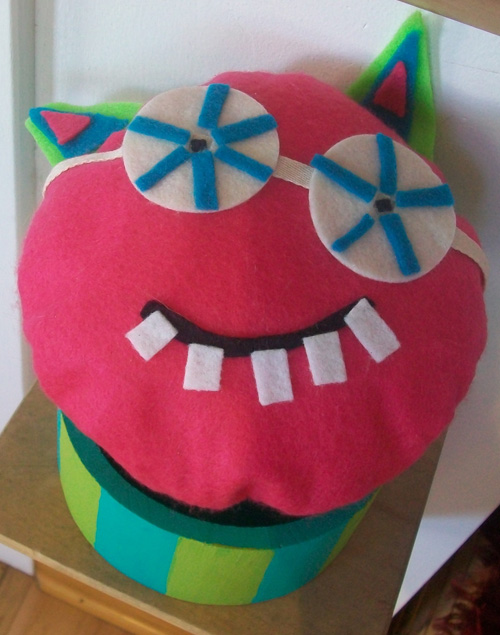
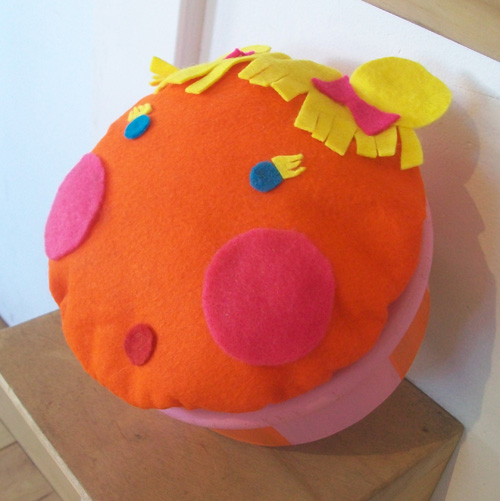
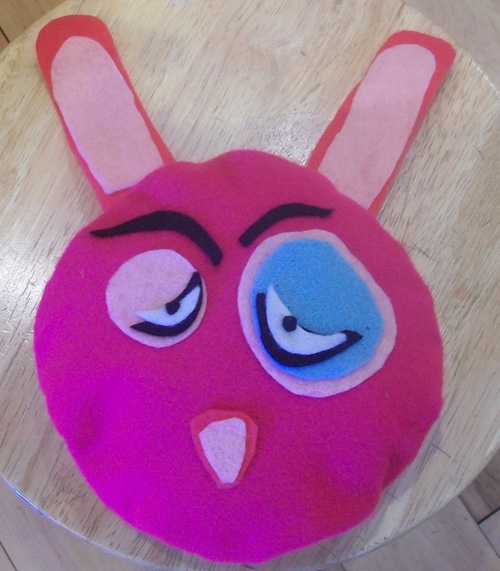
These are a group of fun felt and wood character boxes that I made. To start this projects head to your local craft store and pick up a circular wooden box with a lid. Back at your studio paint the box with acrylic craft paints in the design of the character you want to make. Next you’ll want sheets of craft felt in a color that goes with your character. Create a half round pillow form out of the felt and stuff it with batting. Now you’ll use more craft felt to cut eyes, nose, mouth, ears or any other features for your creatures. Glue these on to the top of the stuff felt pillow using tacky glue. Create wings or tails or whatever other elements are needed out of pipe cleaners and glue these down to the lid of your painted box. Finally glue the felt half pillow on top of the lid of your box. Now you have a keepsake box! As an alternative to the keepsake box glue the lid down to the bottom with E-6o00 glue, cut a slit into the side of the wood box and a circle hole in the bottom of the box. Place a cork in the bottom hole and now you have a bank! Fabulous! The following are some of the character boxes I made. Happy Crafting xoxo Lovely Lula
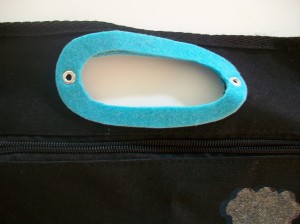
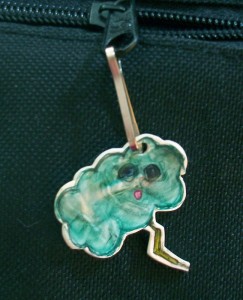
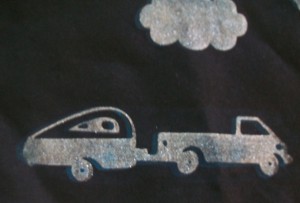
Thinking of trying to fit in one more road trip in before the end of summer? Before you head off, make this fun Car Technology Storage bag. You gotta have somewhere to put your ipod cord, cell phone charger, GPS and emergency power monkey. I used the Cricut cartridge called Summer Vacation to cut the central theme pieces of the truck and camper out of black paper to burn onto a YUDU screen. I used the YUDU to print the design onto a black handled bag that I picked up at a thrift store. I cut Aqua felt to the shape of the handle and used rivets and E-6000 to attach it. For the zipper pull I created a charm out of shrink plastic. Enjoy making your own travel goodies this week and Happy Crafting xoxo LL
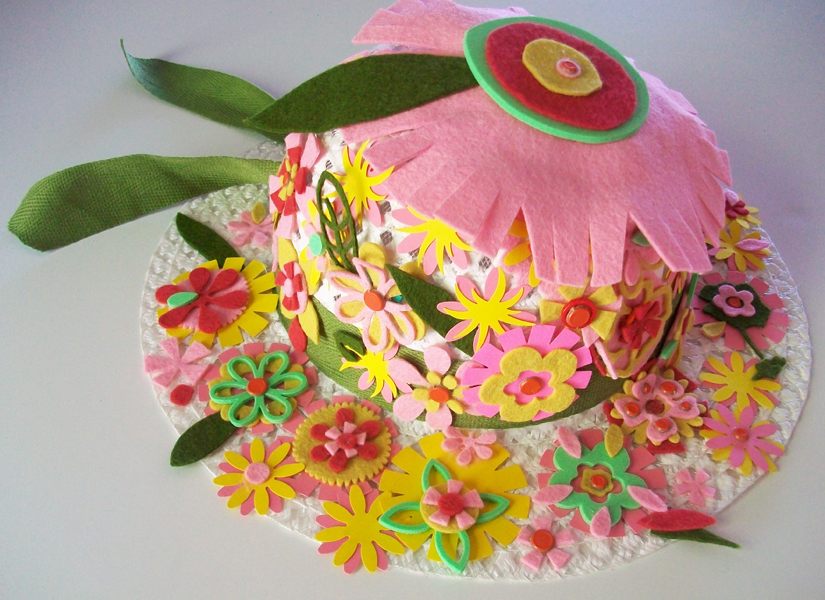
I used a plain, boring Easter hat that I found at the Target dollar section and created a vibrant, flower filled, hat that any youngster would be excited to wear this spring. My daughter, who is four, helped me put it all together and since this is her hat to wear I was so excited that she participated. Click on the How I did it PDF below to make one of your own!
I whipped up a little St. Paddy’s day Pin to wear. It is made mostly from Provo Craft Cuttlebug Dies. Check out the “How To” below and make one for yourself. It is so super cute it could really be worn year round too!
Click here for the simple downloadable PDFÂ HowToCloverPin.
Products used in this project: Wool Felt, Craft Foam, Bar Pin Blanks, Aleene’s Tacky Glue and  ProvoCraft Cuttlebug dies
