All posts tagged Paint
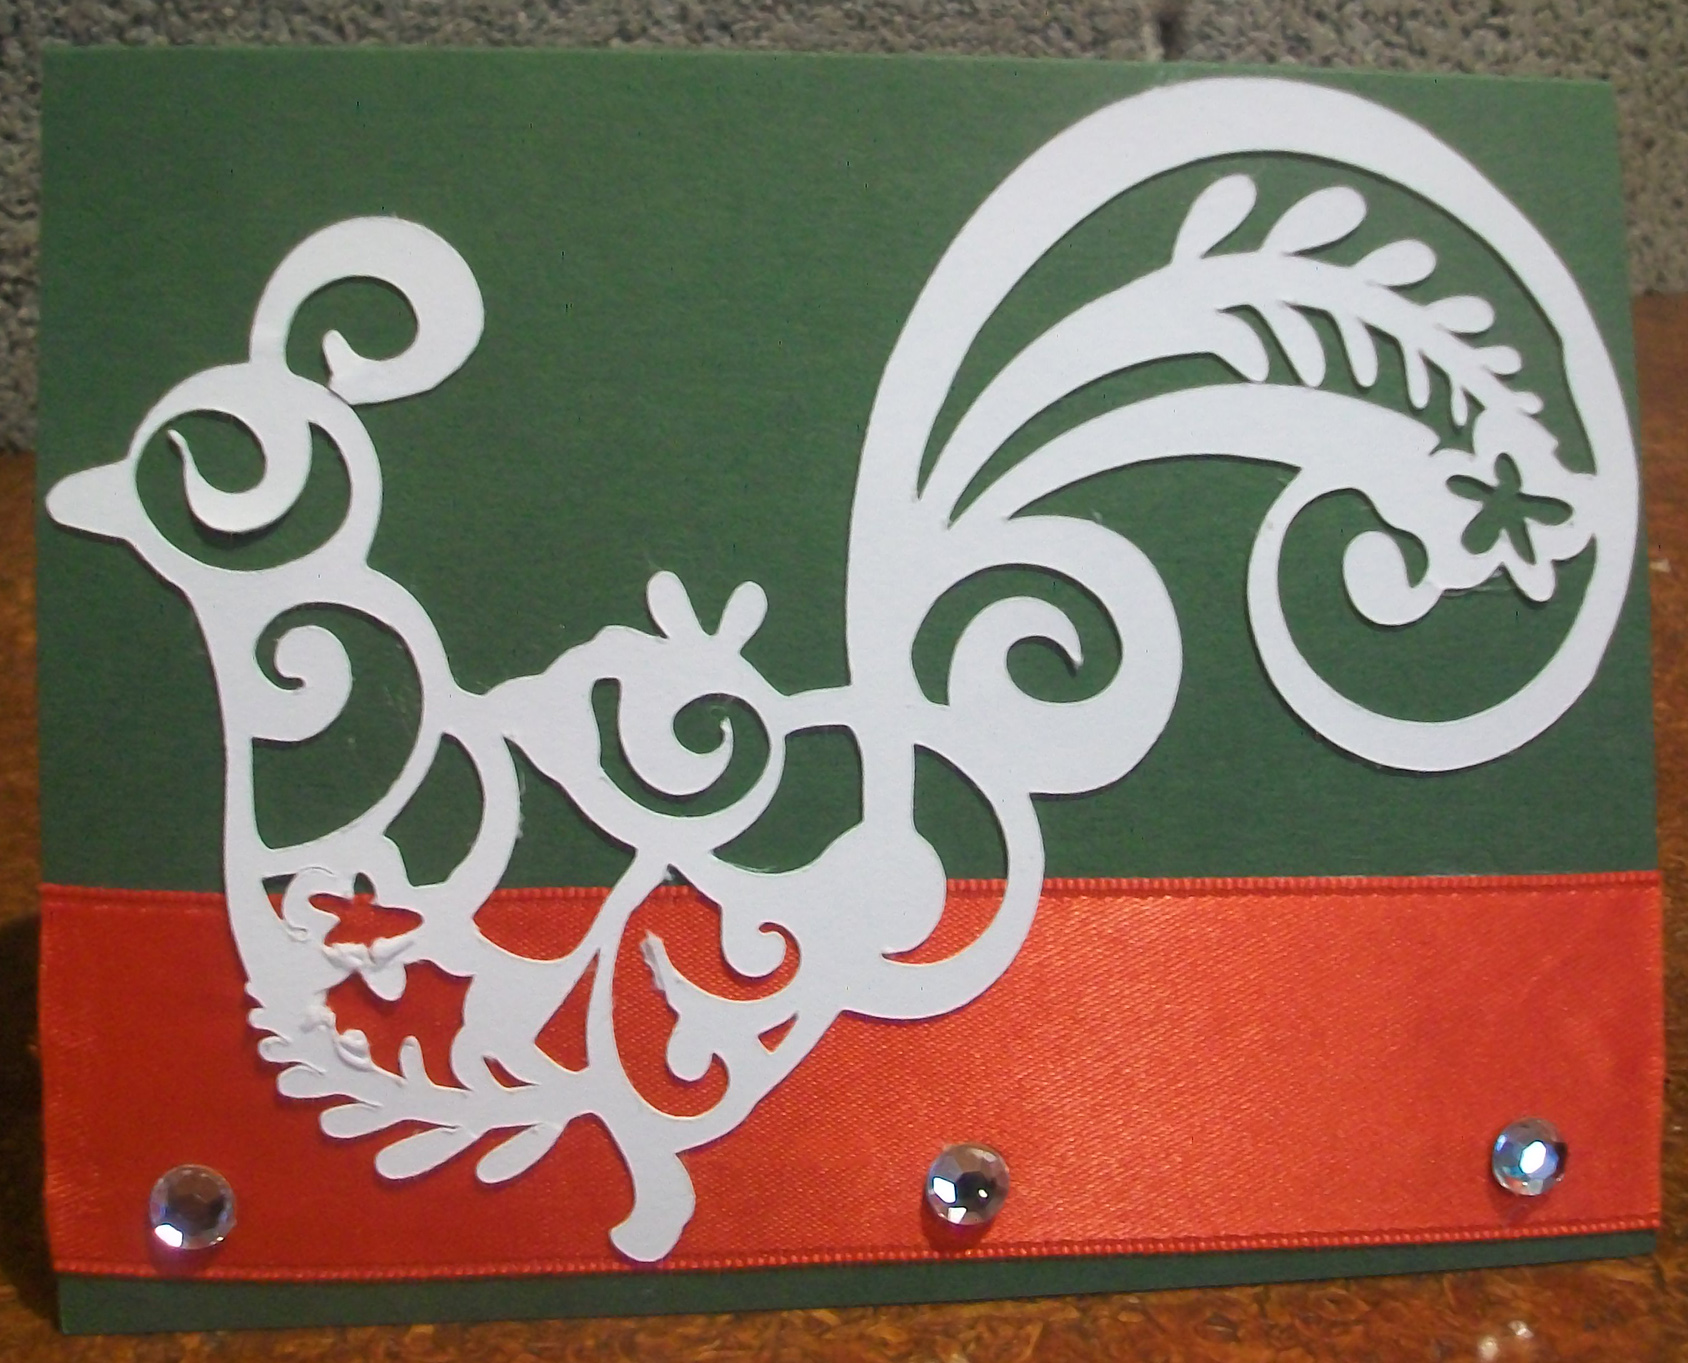
I needed to send a thank you note out to a special person and decided it was worth taking the time to make a lovely card. I used Bazzill Basics Herbal Garden colored card stock, a red satin ribbon, clear hot rocks and my Cricut along with the Trim The Tree Cartridge to make it. It is so festive I am loving it.
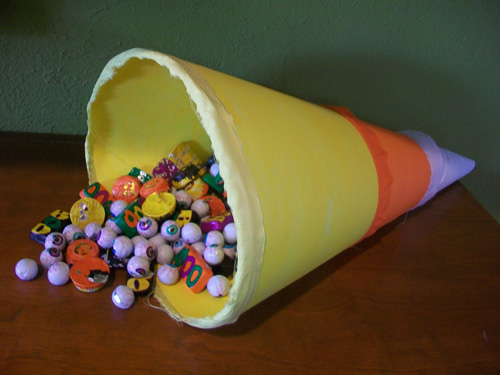
This is my take on a fall cornucopia. I filled mine with Halloween candy and this will be the grab “bag” for trick-or-treaters. I love candy corns as visual icon and since orange is my favorite color I just can help but love these little treats.
Here is how to make one of your own:
1. Start with a large piece of white poster board. Cut it into a baseball field pattern. Round at the outer edge and instead of coming to a point, cut it flat at the base.
2. Roll it in to a cone shape.
3. Use binder clips to hold it into the shape. Lift edges and glue with tacky glue. Keep binder clips in place until it is fully dry.
4. Once dry, divide it into three sections. Use craft paint and paint the base white, the middle orange and the outer edge yellow. repeat this for both the inside and outside. Allow to dry completely by standing up on the outer edge.
5. Using broad cloth, tear a strip of white, orange and yellow about 1 inch wide and long enough to go around your candycopia. Glue down with tacky glue.
6. If you have too much room and not enough candy to fill the whole thing, stuff the bottom with orange tissue paper.
7. Add in candy of choice and enjoy!
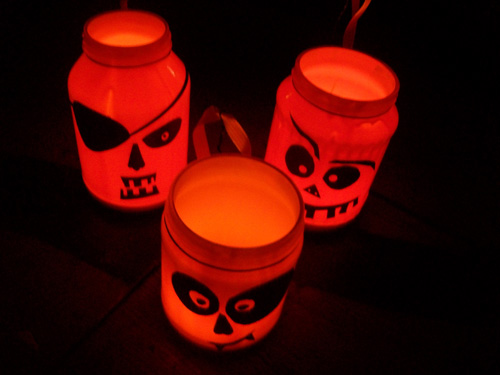
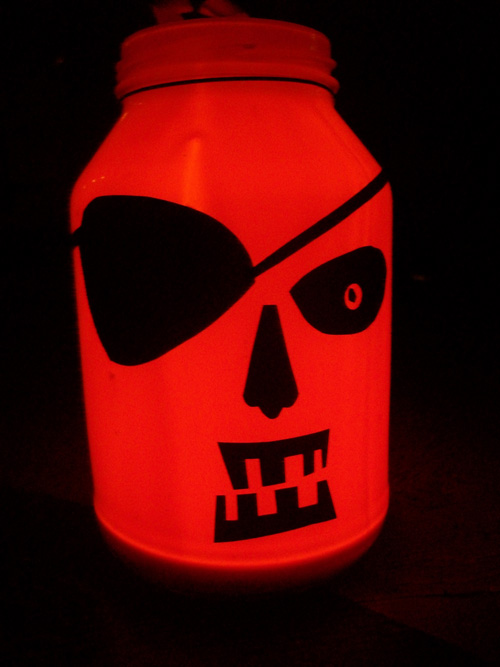
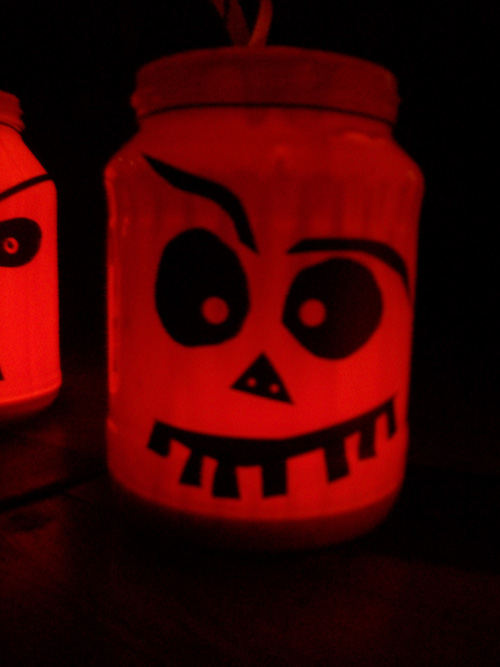
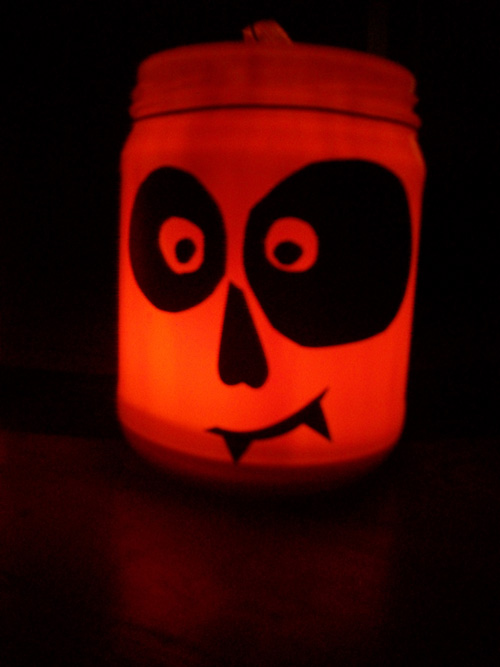
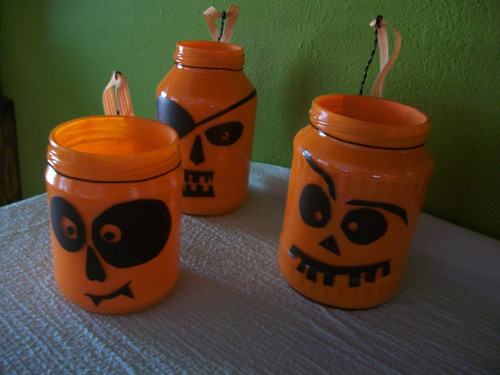
This is my Halloween centerpiece this year. Such a simple project that I saw in Martha Stewart’s Halloween Book. I used an empty pickle jar, applesauce jar and salsa jar for these. I washed each one and allowed them to air dry then I coated the inside of each one with orange craft paint and poured the excess back into the paint container. I allowed the inside of each jar to dry completely. The faces, a grumpy pirate, a jack-o-lantern and a dopey dracula, are made by hand cutting adhesive backed, sheet vinyl. Just peel the backing off after cutting the shape and stick it to the jar. The final step was to wrap black wire around the rim and twist it into a loop. Tie an orange ribbon around the wire loop so jars and hang as well as sit on a table.
These were so fun to make I think more may be in my future.
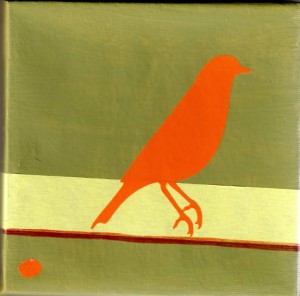
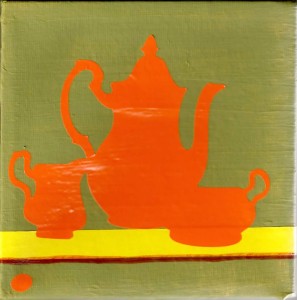
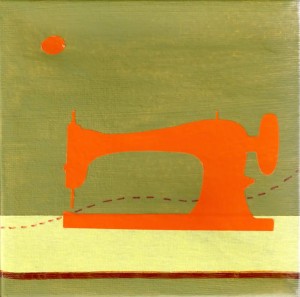
Need some quick simple art in your home? Or do you just feel like playing a bit? I recently took on a little home decor project and by little I do mean mini. I used the Cricut, the Heritage cartridge, and some hot orange vinyl to make mini works of art on canvas. The Cricut cuts vinyl like butter. I played around with the different shapes and with scale until I was happy with the look and the combination. I also used colored masking tape and Sharpie markers to add to the pieces. Click here download the Vinyl Canvas Art PDF and make an art piece of your own. Happy crafting xoxo Lovely Lula
I call this book almost handmade because the outer cover shell was store bought and I decorated it. Ahhhh . . I love the ease of that. Provo Craft sells the covers called Album Covers but I thought they were a little uhm you know sleepy – so I had to give it some pizazz. This book is ready to be used as a journal, a scrapbook, a photo album, a story book or maybe I’ll give it as a gift and let the gift receiver make that decision. For the creation of it I used acrylic paint, paper, fabric, ribbon, a button, thread, tape, glue and stamps. To put the book together I used the Your Story. For a step by step click here for: My Fierce Book
