All posts tagged YUDU
Thinking of trying to fit in one more road trip in before the end of summer? Before you head off, make this fun Car Technology Storage bag. You gotta have somewhere to put your ipod cord, cell phone charger, GPS and emergency power monkey. I used the Cricut cartridge called Summer Vacation to cut the central theme pieces of the truck and camper out of black paper to burn onto a YUDU screen. I used the YUDU to print the design onto a black handled bag that I picked up at a thrift store. I cut Aqua felt to the shape of the handle and used rivets and E-6000 to attach it. For the zipper pull I created a charm out of shrink plastic. Enjoy making your own travel goodies this week and Happy Crafting xoxo LL


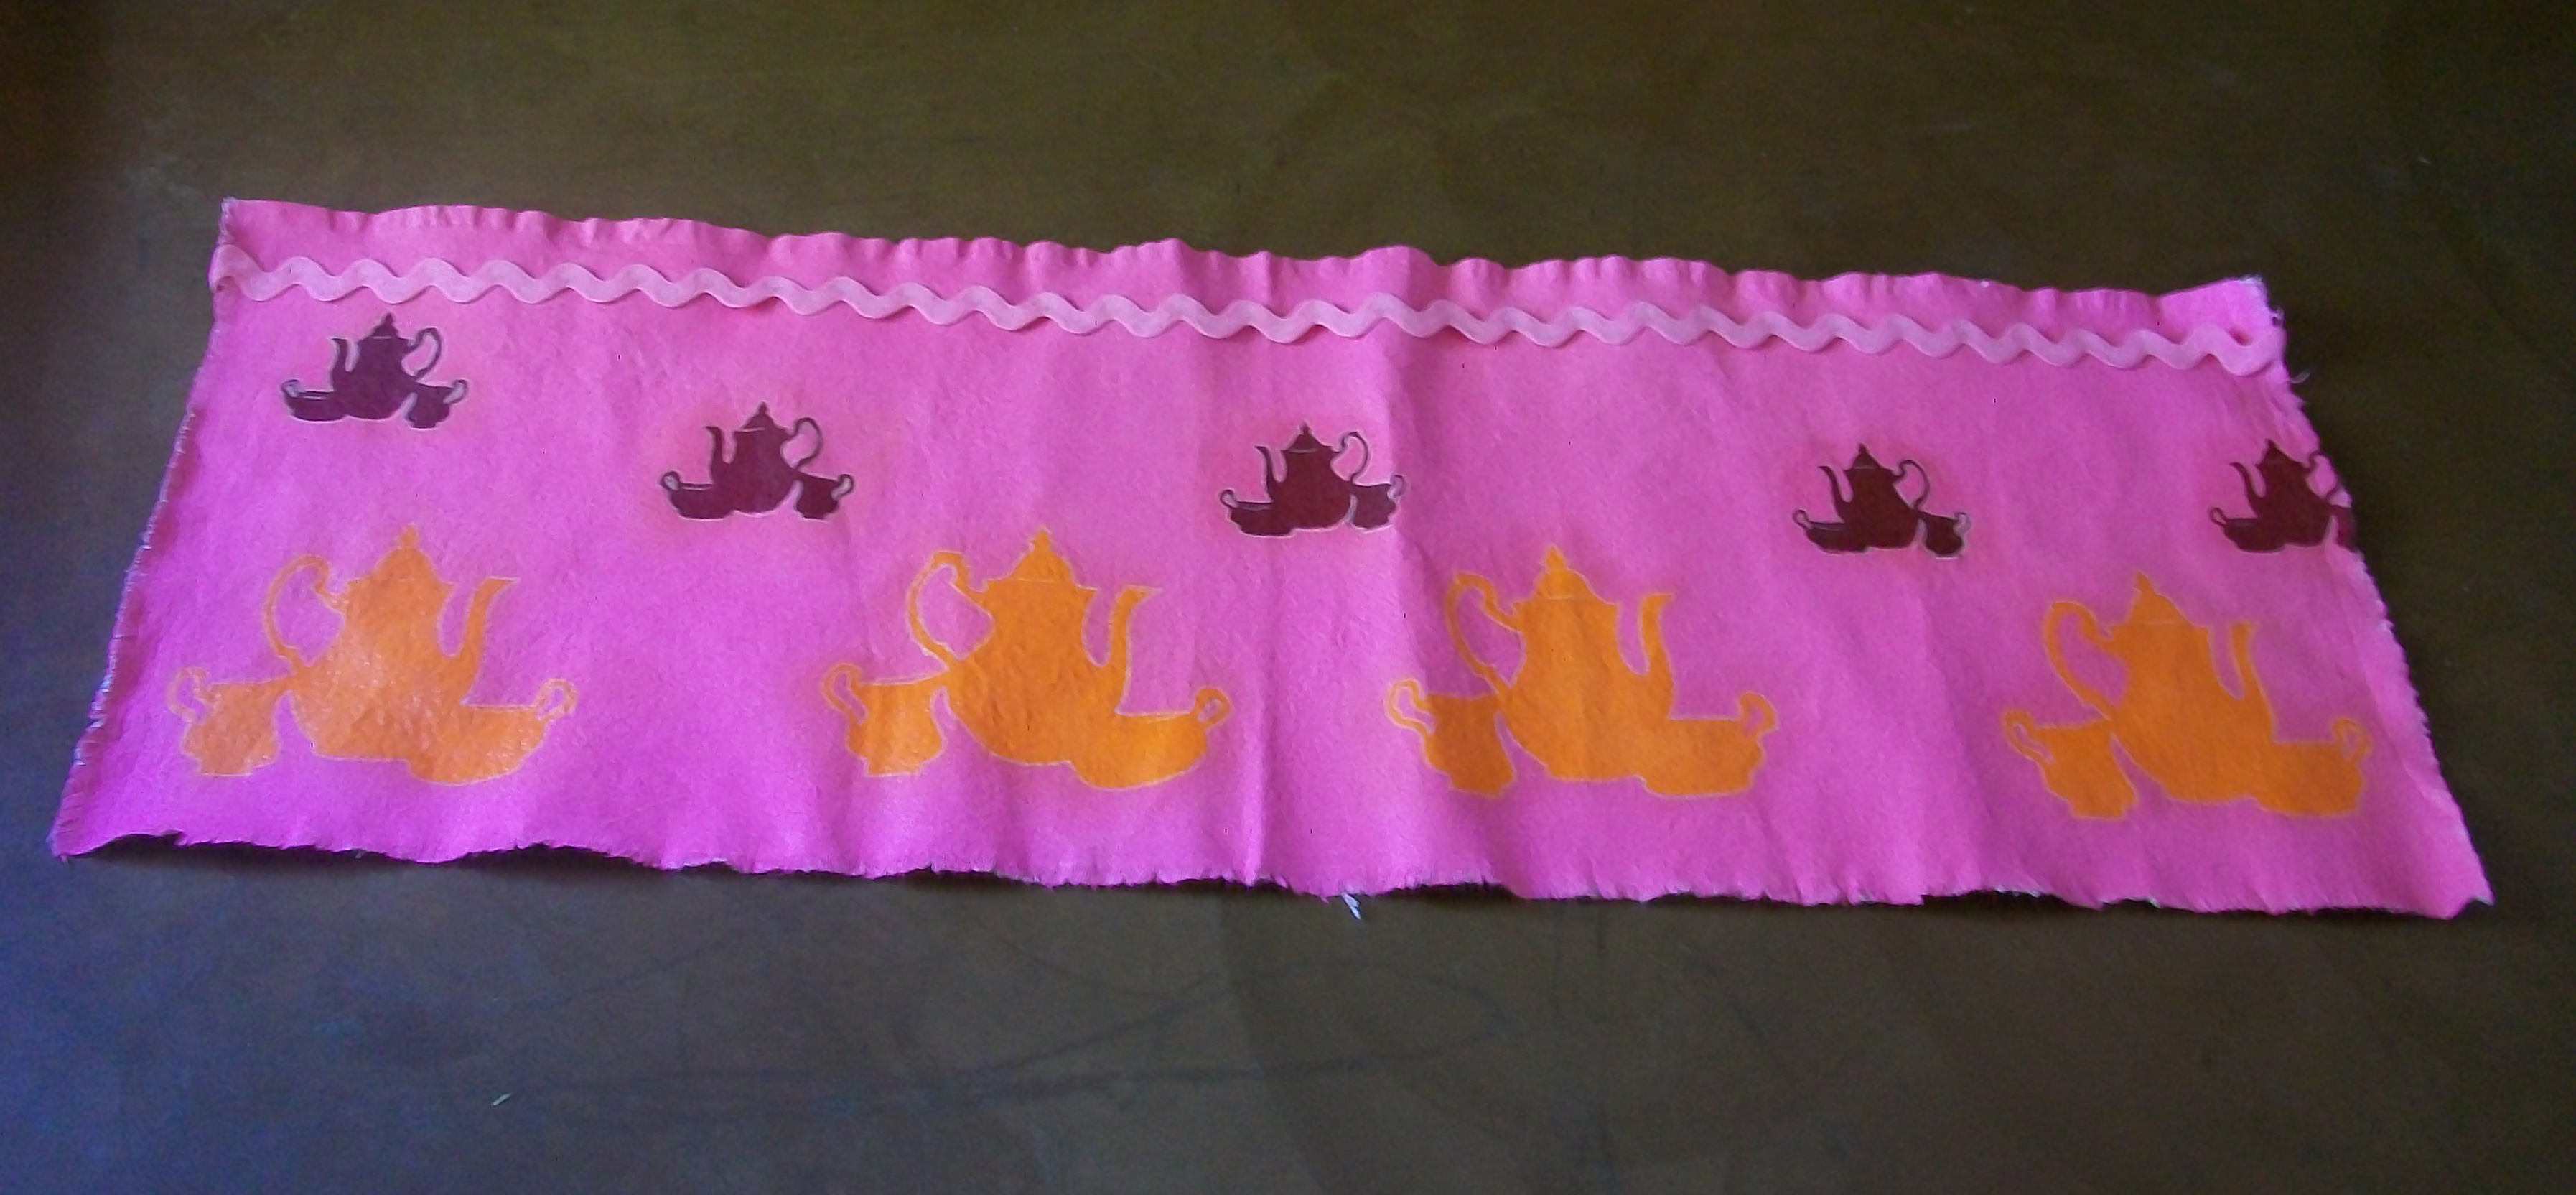
When I was in college I used to make painted floor cloths all the time but it had been years. I was inspired of late to get back at it. However, instead of hand painting the whole deal I painted just the background color and then used the Cricut to cut out a tea set from the Heritage Cartridge. I then used the YUDU to screen-print the tea set design onto my floor cloth! So Happy – I love it! This little yummy greets you at my front door as you enter my house. It is hard to tell in this shot but it is 5.5 feet long by 2.5 high. For a tutorial click here: Tea Set Floor Cloth How To. Happy Crafting xoxo LL

I found this cute and simple kids bathing suit at my local dollar store and instantly knew it was perfect for use with the YUDU. I used a flower from the Cake Basics Cartridge and cut it out in three different sizes on the Cricut. I then burned the designs to a screen and printed one color at a time on the YUDU. Allowing each pass to dry completely before printing the next color. For the tutorial click here: How To YUDU Bathing Suit. Happy Crafting xoxo Lovely Lula

I have had a roll of chalkboard oilcloth sitting around for a while and was not sure exactly what to do with it. Then I thought screen-print on it! So I hand drew a variety of different frames and screen printed them onto the oilcloth using the YUDU and metallic inks. Then I stitched the frames onto larger pieces of colored fabric vinyl, decorated a bit and finished them off with top corner grommets. I had so much fun I made about 20 of these, each different and unique. Below are just a few. For the complete tutorial click here:Â Oilcloth Chalk Boards How To. Happy Crafting xoxo Lovely Lula
